Photos and Adapted Recipe by Amanda Callahan of Callywood Farms
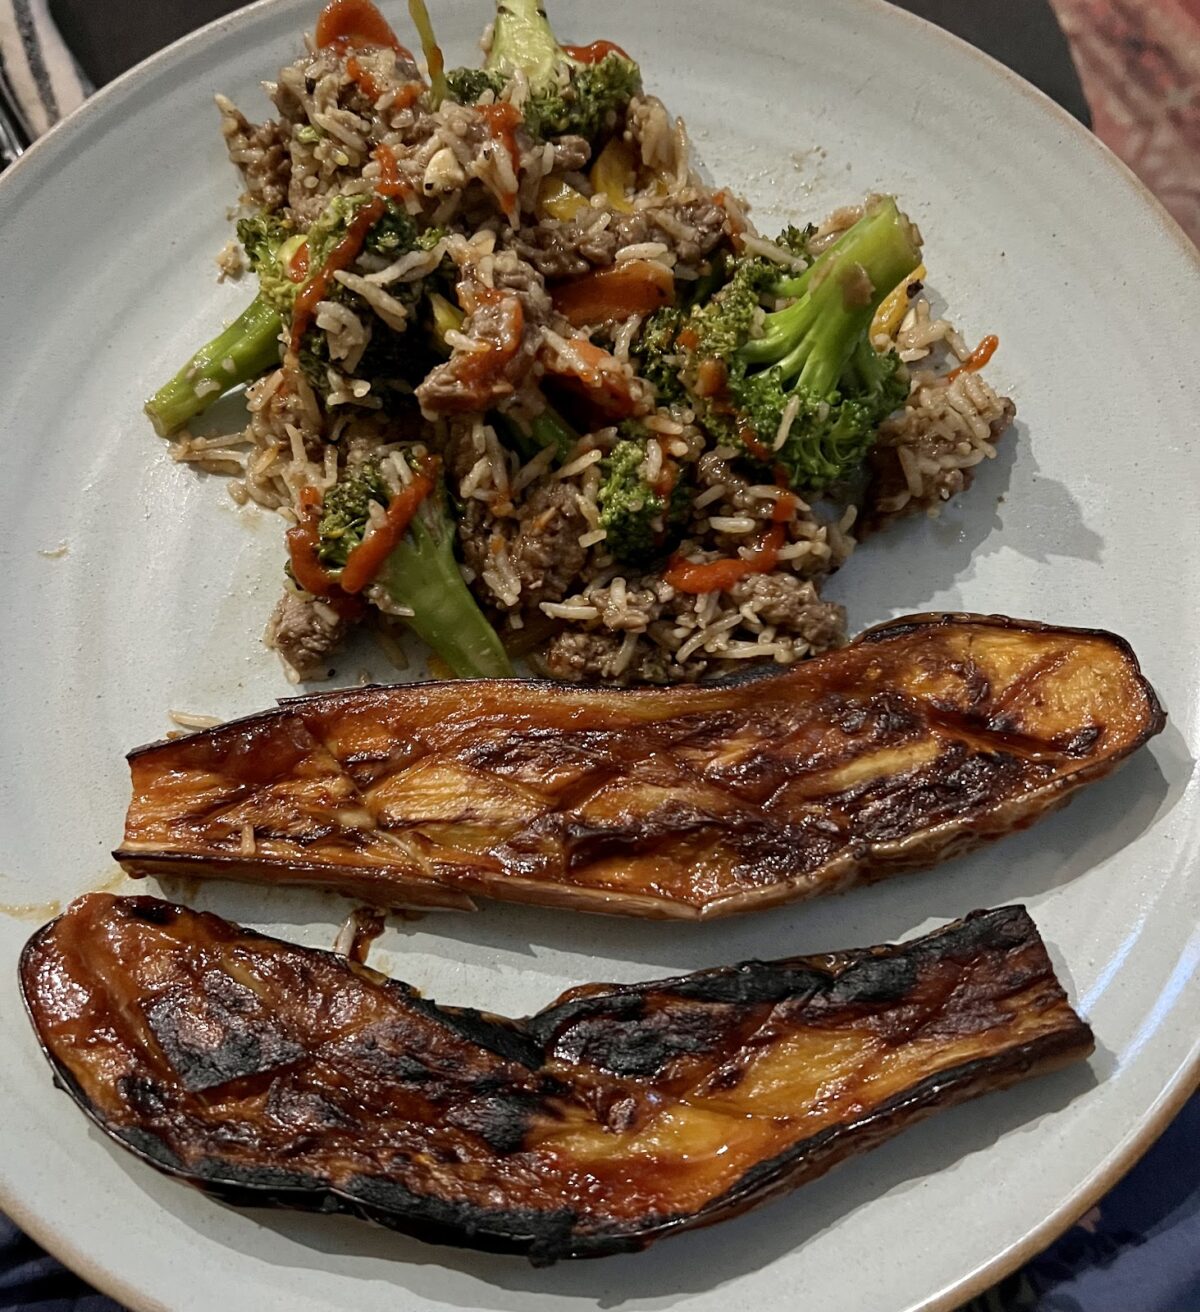
This is one of those recipes without a recipe. I originally got it from Sam Sifton, editor of the New York Times Cooking section and it is one of those easy recipes that has stayed with me through every summer season of eggplant. Sure, I could have added the eggplant to my stir fry. But this way of cooking it produces those crispy, caramelized edges and a silky interior. It is also highly adaptable to your personal tastes and accommodates substitutions and additions very well. Not a fan of miso? Toss it. Like things spicy? Add extra heat. Go rogue and try it with a completely different flavor profile entirely — Latin, Greek, Italian — have fun and report back on your success!
Ingredients
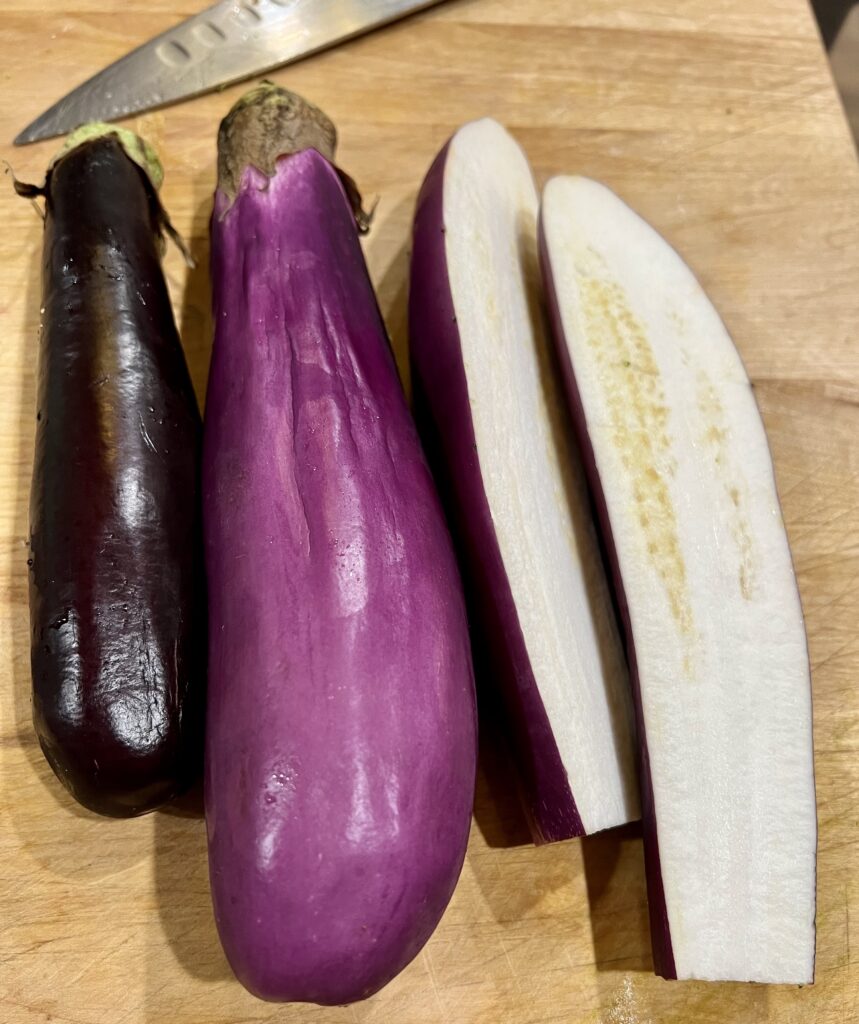
2-3 (or more!) long, skinny eggplants (the larger ones might fall apart upon flipping)
1 tablespoon miso paste
1 tablespoon rice wine vinegar
2 teaspoons soy sauce or coconut aminos
2 teaspoons sesame oil
Lots of freshly ground black pepper
Optional: Gochujang paste/flakes (a Korean fermented chili sauce that adds depth and heat). You can substitute with sriracha.
Directions
Preheat the oven to 425.
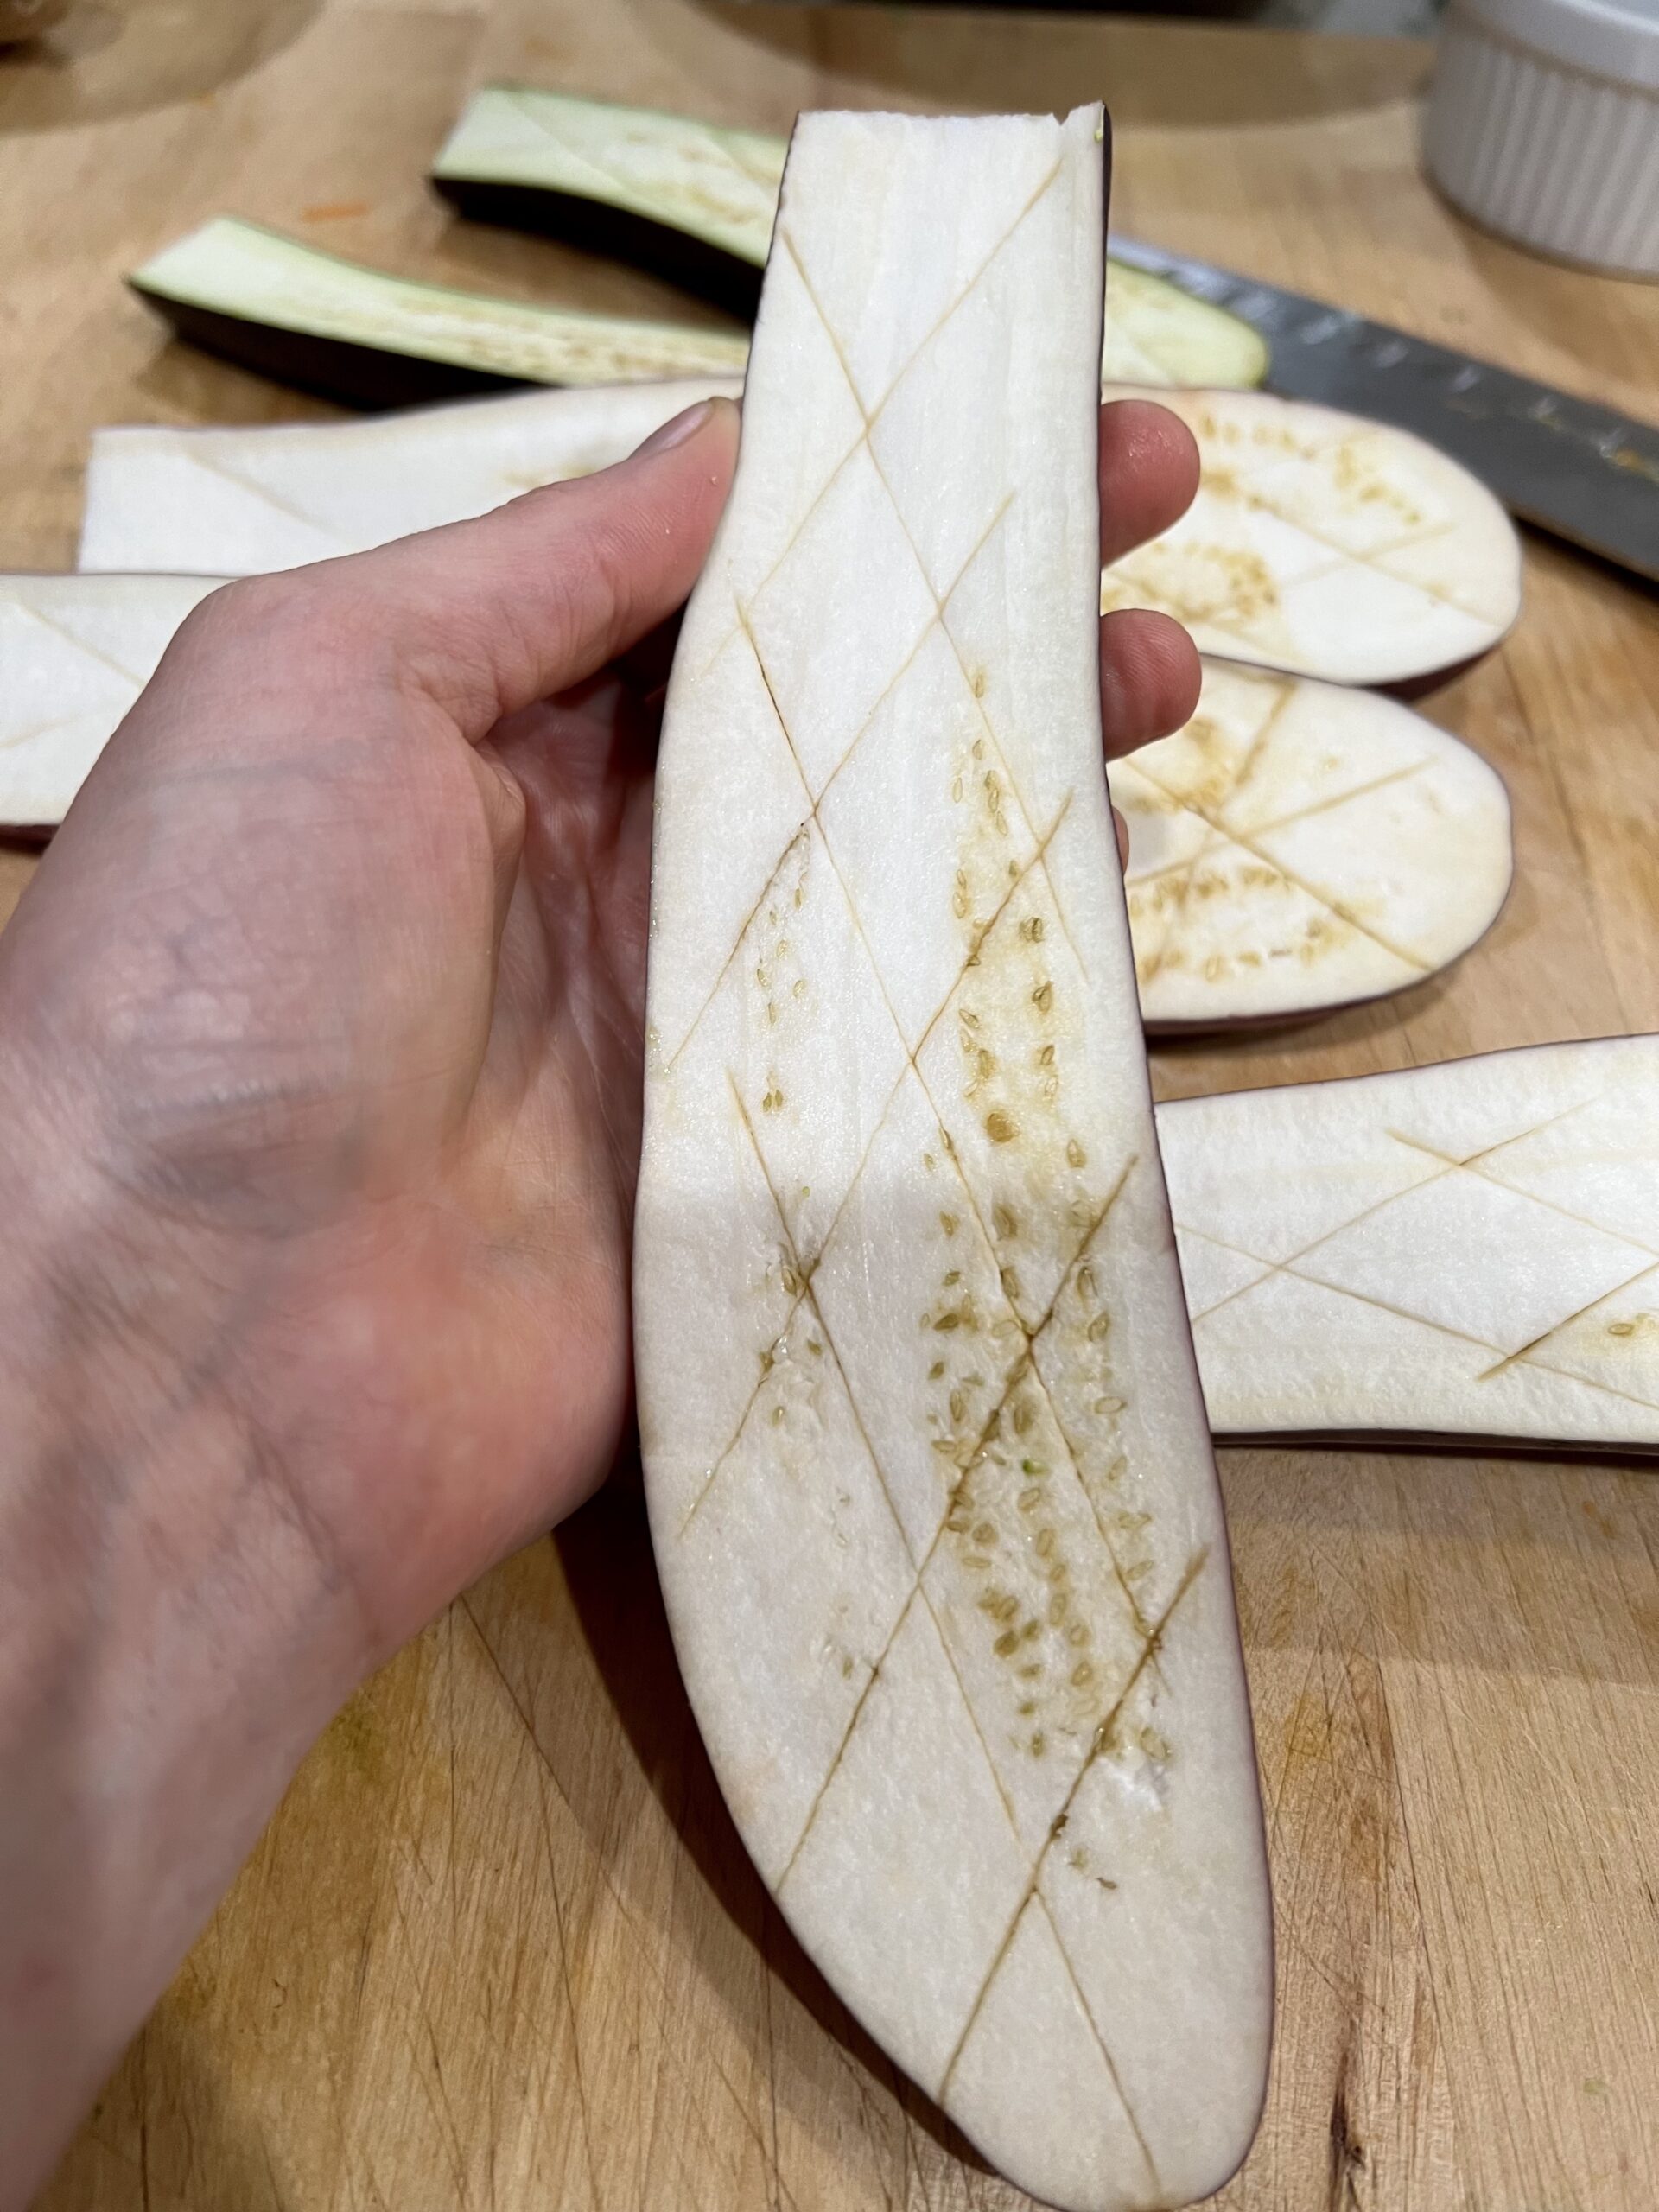
Cut eggplants long ways in half. To each half, create a diagonal scoring pattern.
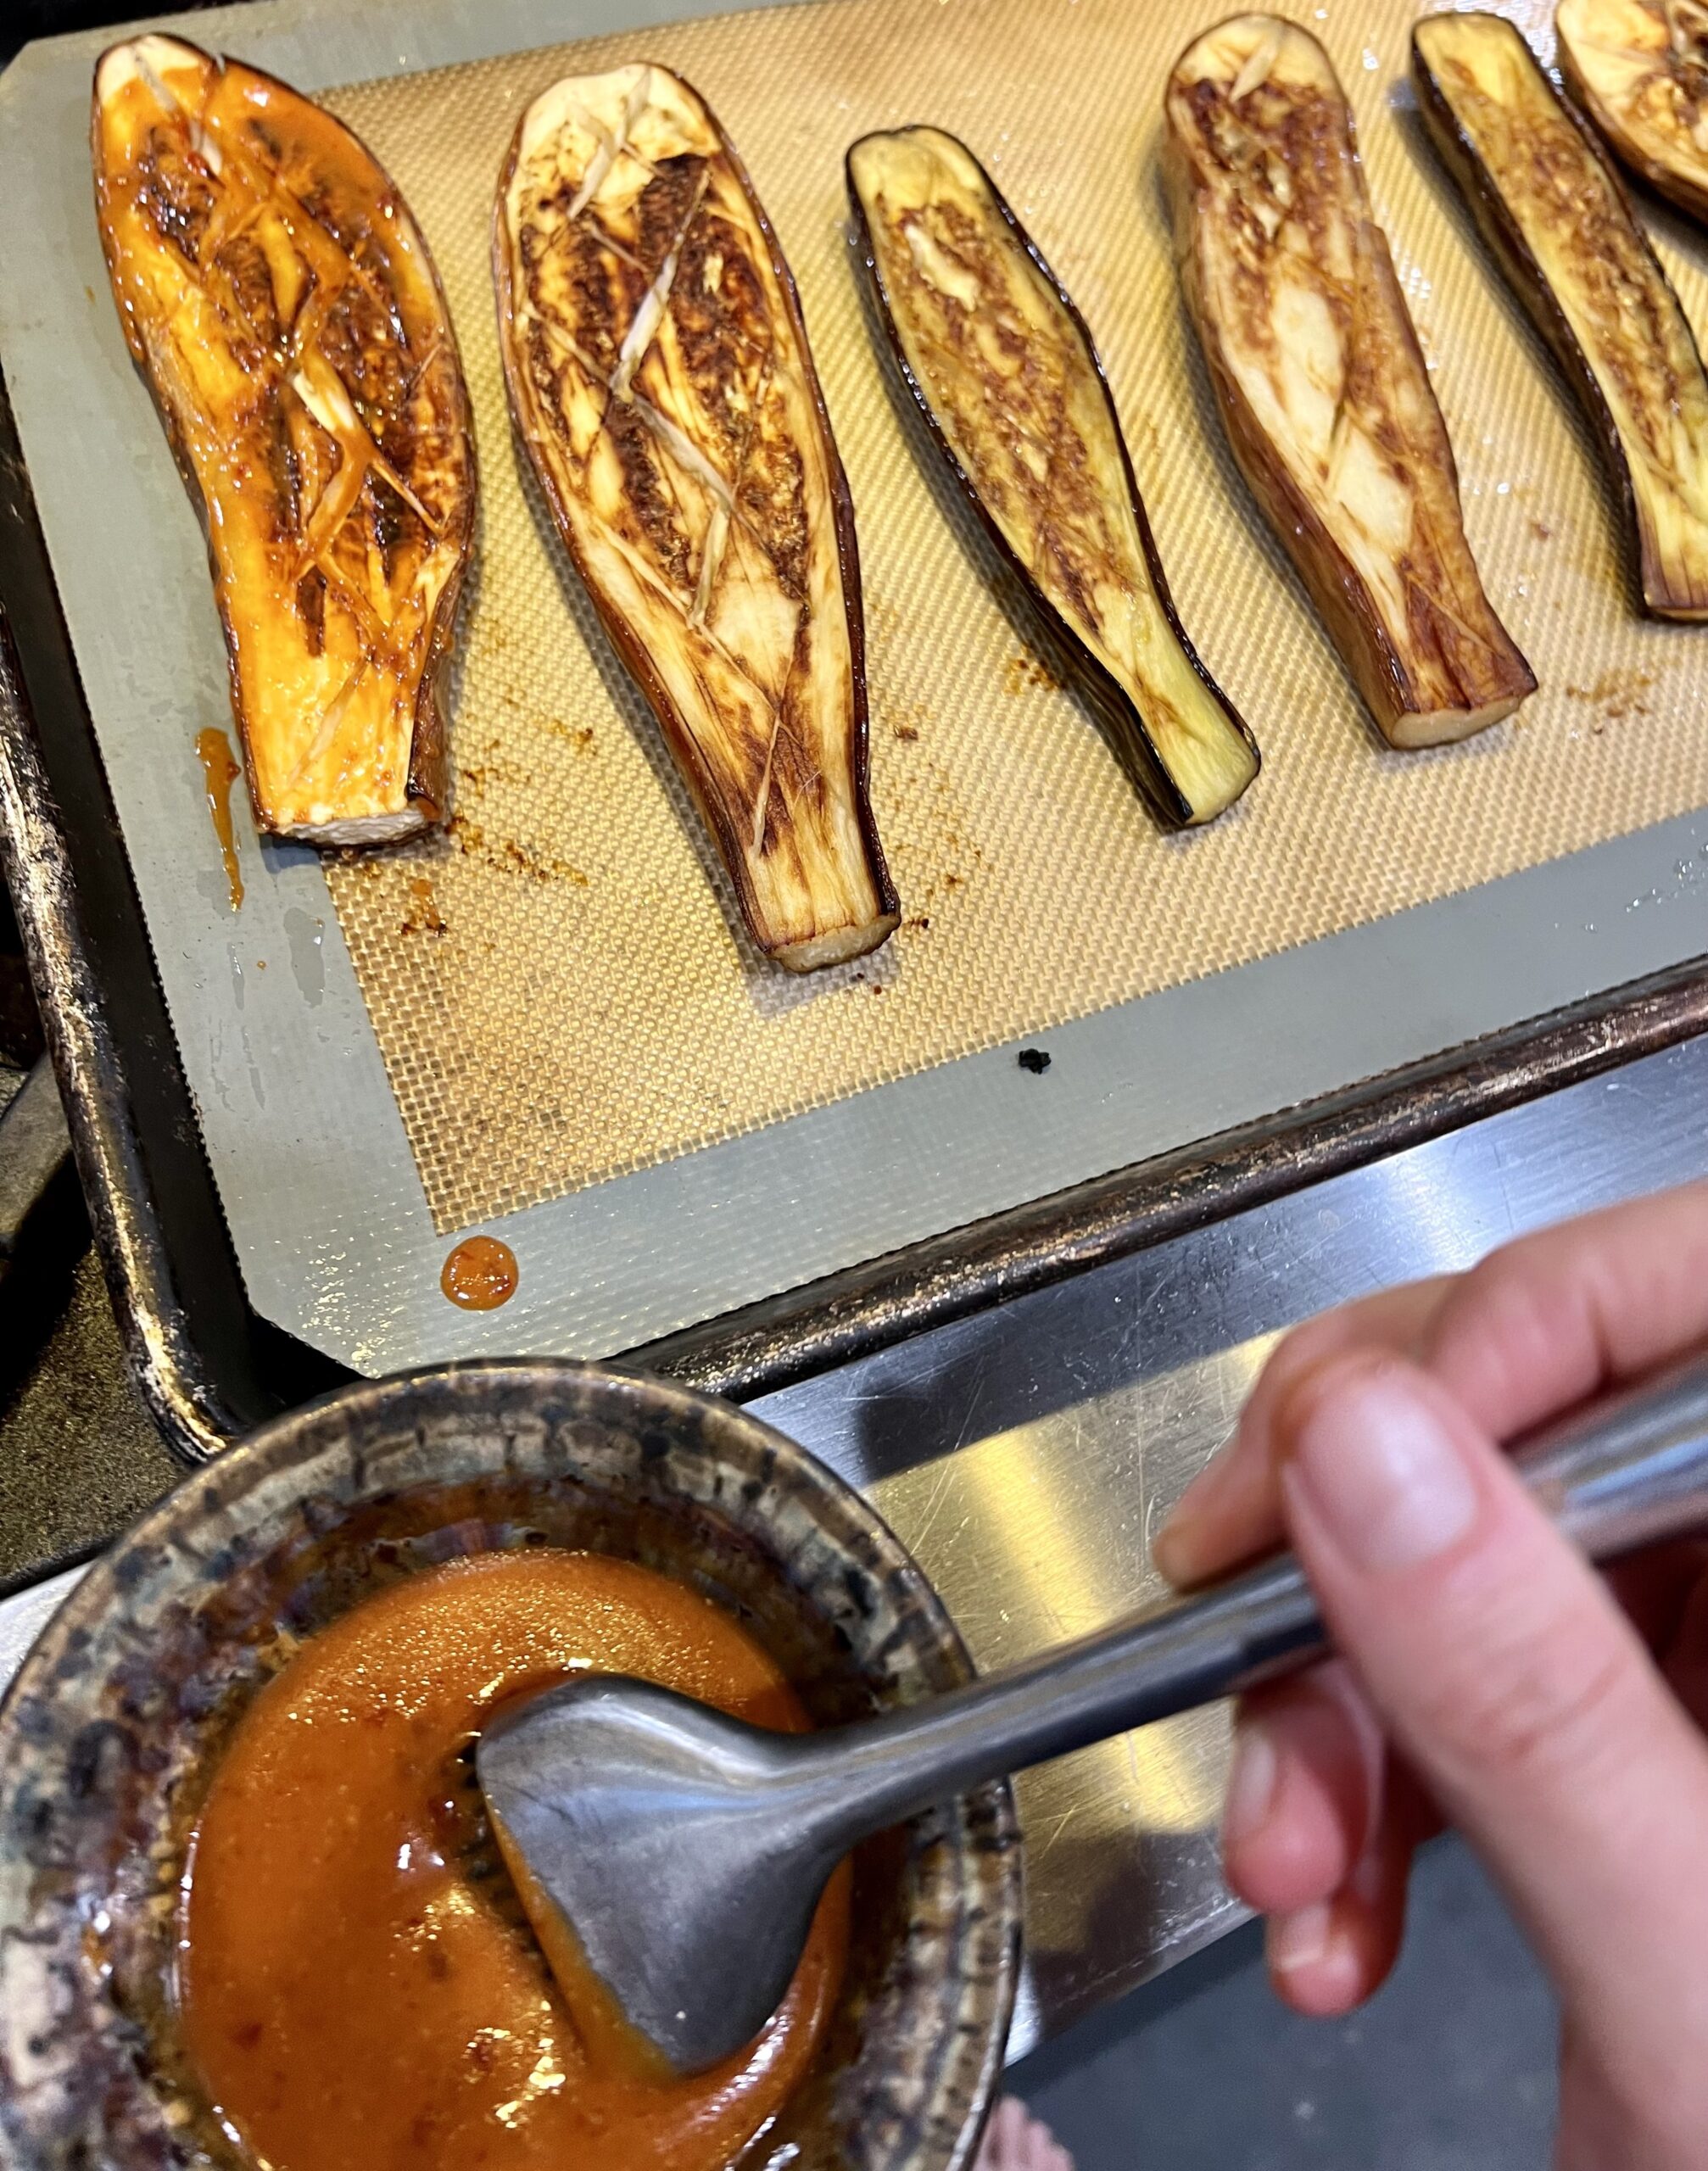
On a sheet pan with a Silpat liner or parchment paper, toss the eggplants with 2 tsp oil. Place cut side down and roast for 15-20 minutes until golden brown on the bottom.
In a small bowl, whisk the remaining ingredients together.
Remove from the oven and gently flip over so the flesh is facing up.
Brush the liquid onto the flesh of the eggplant.
Turn the oven to broil and place eggplant under the broiler for a minute or two. Serve!
Recipe notes: If you don’t have a scale and you’re into baking, I highly recommend investing in one. There are numerous reasons mostly related to exact measurements, but my favorite reason to use one is because it reduces dishes. You don’t need measuring cups, it’s a mostly 1-2 bowl situation as you can dump stuff into a bowl and watch the numbers. Easy peasy. The original author did include rough cup measurements, but I did not test the recipe using these.
135 grams all-purpose flour, about 1 cup (I have recipe-tested with whole wheat and don’t recommend it, as it discolors the final cookie. GF substitute worked great)
1/2 tsp baking powder
1/8 tsp salt
76 grams local butter, softened, about 1/3 cup
90 grams cane sugar, about 1/3 cup and 1 tbsp
80 grams local frozen blueberries, about 1/3 cup (if measuring frozen ones, it looks more ¾-1 cup, but after heating it reduces to ⅓-½ cup)
70 grams white chocolate chips, about 1/2 cup
Directions:
Preheat your oven to 400F.
In a small bowl, whisk together the flour, baking powder and salt.
Either in the microwave or on the stovetop, thaw the frozen blueberries until they are soft and jammy. In the microwave this should take about 30 seconds on high heat, and on the stovetop it should take about 2-3 minutes on medium heat.
Let the blueberries cool for about 2-3 minutes. While they are cooling, use an electric mixer or a stand mixer to cream together the butter and sugar. You want to cream the sugar and butter until the mixture is noticeably lighter and fluffy.
Add the blueberries to the butter and sugar and cream at a high speed. You want to essentially “mash” the blueberries into the mixture, making it so that they are pureéd and fully combined with the butter and sugar. The mixture should be a deep purple color.
Gradually fold the dry ingredients in with the wet ingredients to form a dough. Mix in the white chocolate chips.
The dough will be very slack, so chill in the freezer for 30 minutes before shaping into 12 balls.
Bake the cookies at 400F for 10-13 minutes or until slightly brown on the edges. Let cool on a cooling rack for 5-10 minutes and then serve!
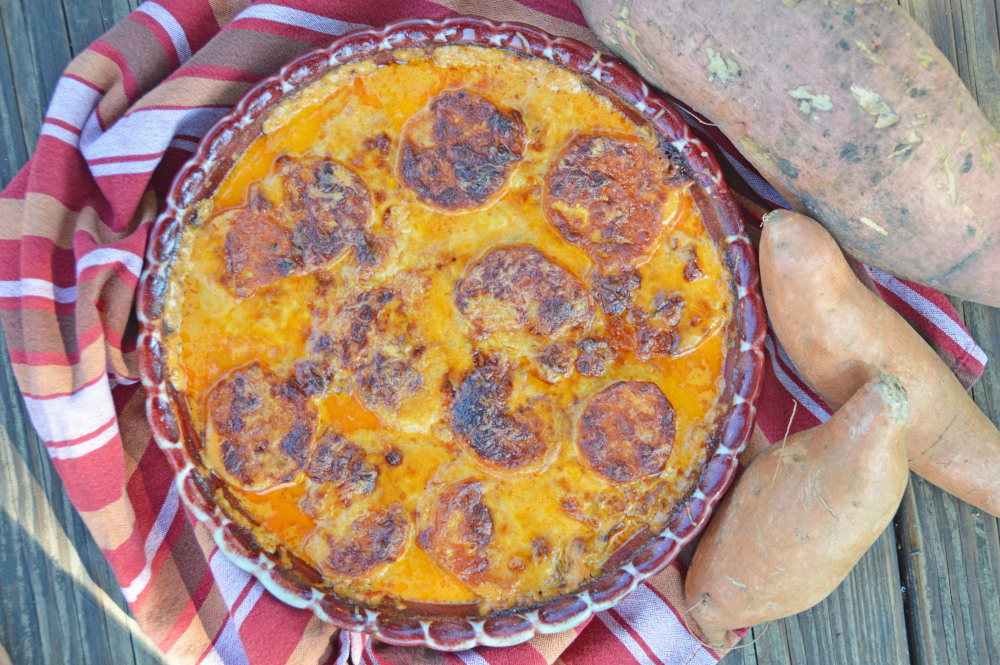
Rich cream, spicy chipotles in adobo, and gooey Gruyere combine for a unique and delicious spin on traditional sweet potato side dishes. I first tasted this dish during research for an article I was writing, and it became an instant favorite. Six years later, it remains a staple on our holiday table. Exceptional to taste and a breeze to prepare? It doesn’t get much better.
This special recipe comes from Jen and Peg of Three Sisters Farm in Texas. It was originally published in Edible Houston magazine by writer and CAFE volunteer Ellie Sharp. Shared with permission. I hope you enjoy!
Serves six 2 pounds sweet potatoes, peeled and sliced into ⅛” -to ¼”- thick rounds 2 cups heavy cream 2–3 chipotle chilies in adobo 1 teaspoon salt 1 teaspoon black pepper 2 cups grated Gruyere
Preheat oven to 375° F.
In blender or food processor combine cream, 2–3 chipotle peppers and 2–3 tablespoons of the adobo sauce and blend. Add salt and pepper and heat in a saucepan until it reaches a simmer.
Arrange slices in 9- by 13-inch baking dish or pie plate
Pour cream/pepper mixture over potatoes
Top with Gruyere
Bake 40–45 minutes, until bubbly and potatoes are tender when pierced with a knife. Let sit 10 minutes before serving.
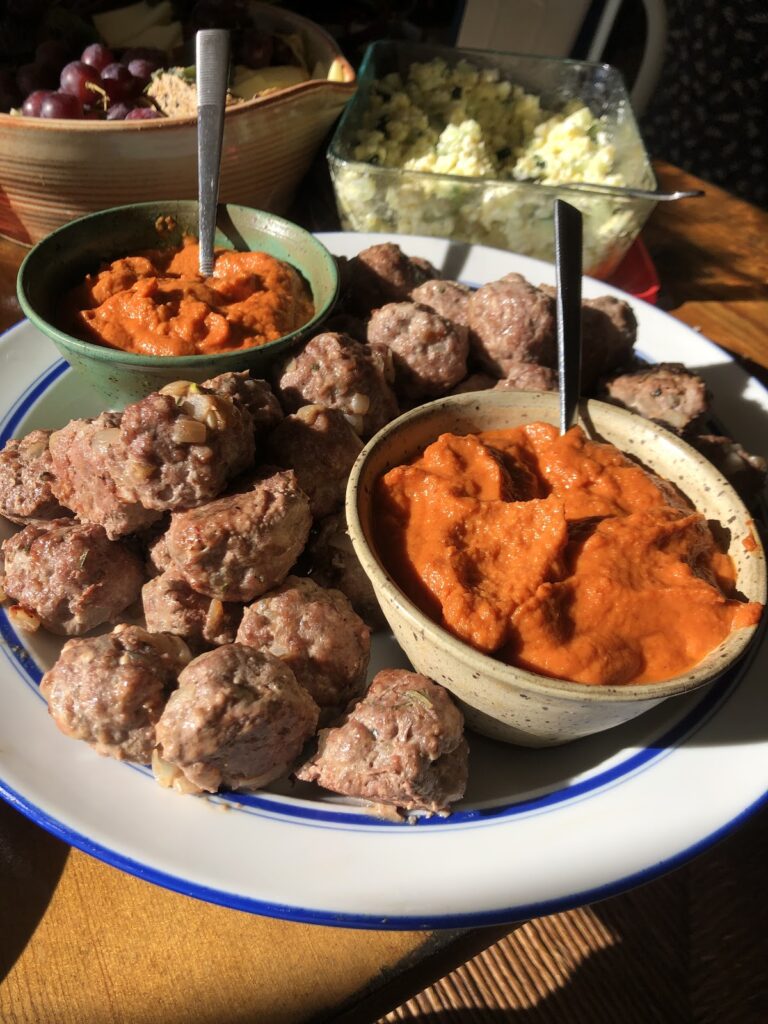
I’ve been making this recipe for years, and it has become a beloved standby. It simplifies making meatballs by multiple steps and ingredients, and the results are still tender and delicious with endless possibilities. Serve them over spaghetti with tomato sauce, glazed in jam for an appetizer, or with a side of Romesco such as this one. I used ground pork here, but you can use any meat you like including ground chicken as in the original recipe linked above. In the summertime, I swap the rosemary for basil — use what speaks to you and the seasons. You really can’t go wrong. My family prefers straight up meatballs without the bread, but you can certainly add in breadcrumbs if desired.
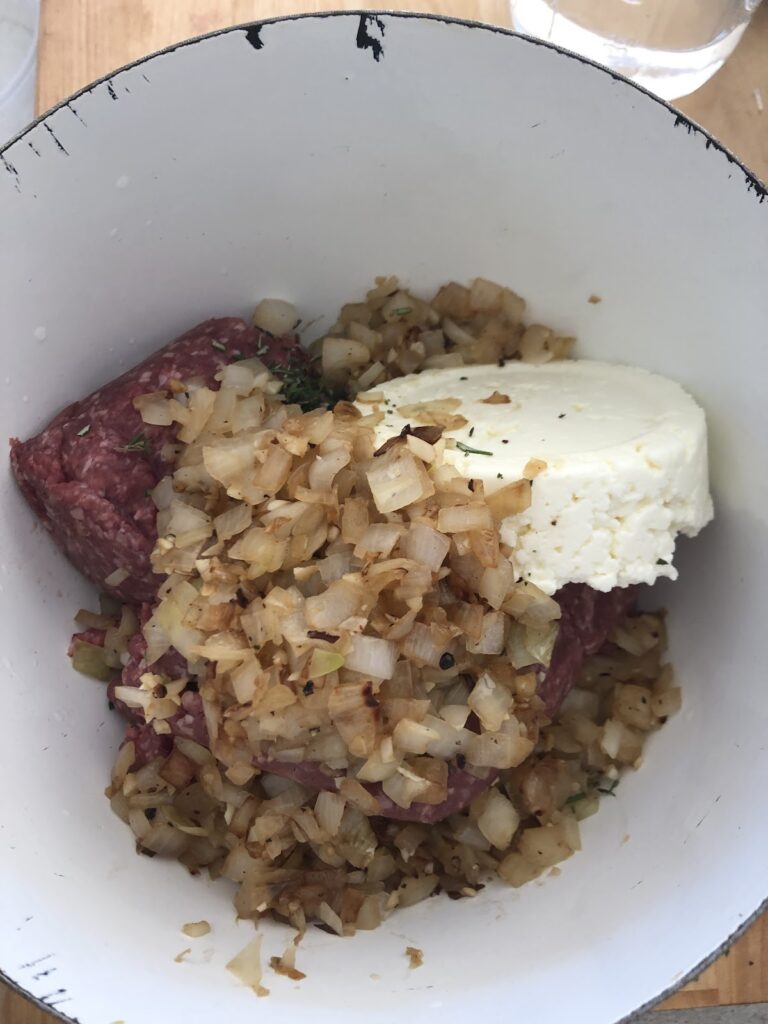
Ingredients 1 small onion, minced 3 garlic cloves, minced 1 pound ground meat 8 oz. ricotta cheese 2 sprigs of fresh rosemary, minced 1 egg, whisked 1 teaspoon salt Freshly cracked black pepper
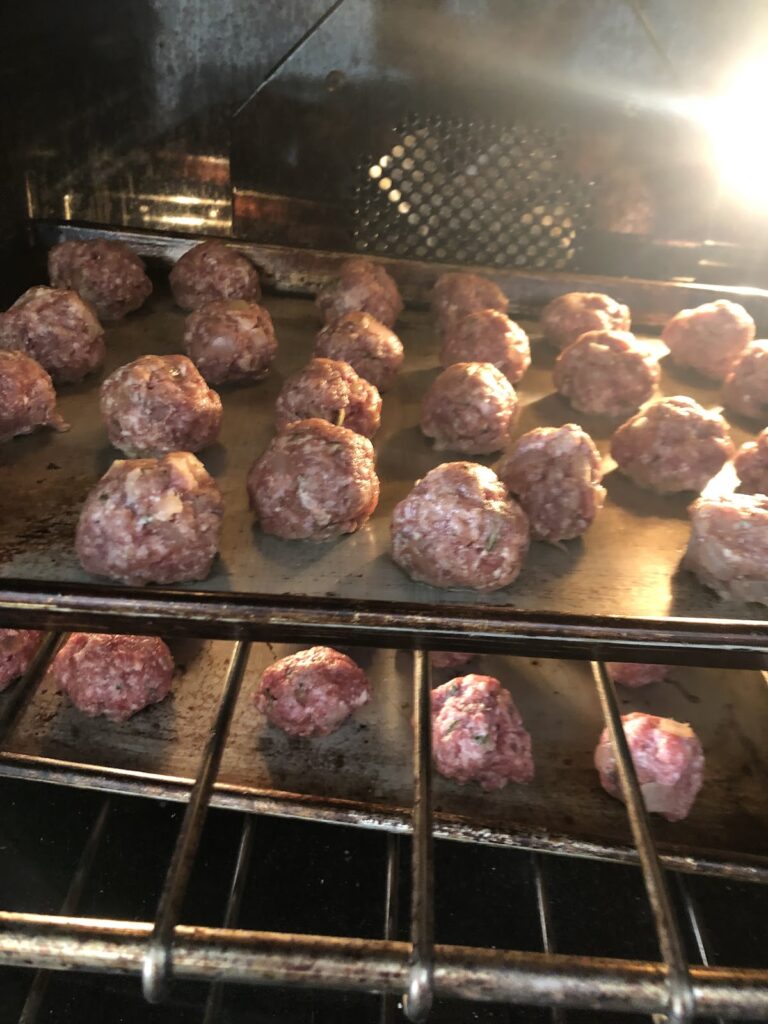
Directions 1. Preheat the oven to 450 degrees. 2. In a small sauté pan, sauté the onion until translucent. Add garlic and sauté for another minute. Set aside to cool down. 3. Set up a sheet pan and line with a Silpat mat, parchment paper or tin foil. 4. In a large mixing bowl combine the meat, cheese, rosemary, cooled onion/garlic, egg, salt and pepper. Mix with your hands until combined. 5. Form the mixture into meatballs and arrange on the sheet pan. 6. Bake for about 25 minutes, turning the meatballs and pan after the first 15 minutes. They should get nice and brown with some darker brown spots.
Recipe & photos by Amanda Callahan of Callywood Farms I’m a big fan of “sheet pan” meals — those glorious, easy-peasy all-in-one dishes perfect for quick and healthy dinners. They are incredibly versatile and (mostly) require minimal attention. Think of them as an ideal “clean out the fridge” technique great for pairing local ingredients you often don’t know what to do with: combine proteins, veggies, and starches however you feel moved. I love putting fresh greens on the top toward the end of cooking, too, like in this recipe!
My friend recently passed along a huge sweet potato from his garden, and I had a bunch of radicchio that I honestly didn’t have a plan for but was excited to use. I thought both would pair well with sausage and debated how to proceed. I was leaning towards a soup, but then remembered I had a couple packages of cauliflower gnocchi in the freezer, and I LOVE roasted gnocchi. Whether it’s frozen cauliflower gnocchi or the shelf stable potato based gnocchi, if you haven’t tried roasting it, you’re missing out my friends! Gnocchi is traditionally boiled like pasta, but when roasted the edges become brown and toasty taking on a nutty flavor that is perfection when paired with fall flavors like sweet potatoes and sage.
Try this easy sheet pan meal this week and make sure to snap a pic and tag us on social media!
Ingredients
1 large or 2 medium sweet potatoes, diced
1 onion, sliced
2 packages of cauliflower gnocchi (10 oz each), frozen, or 1 package of potato gnocchi (16 oz.)
3 tablespoons extra virgin olive oil
Salt and pepper (about 1 tsp salt and ½ tsp freshly ground black pepper)
About 10 sage leaves, chiffonade (sliced thinly)
2 stalks of rosemary, minced
4 garlic cloves, sliced
3 tablespoons balsamic vinegar, divided
1 pound Italian sausage
1 bunch of local radicchio, sliced into ribbons
Parmesan cheese and crushed red pepper for serving
Directions
Preheat the oven to 425 degrees.
Use two sheet pans (pictured here is just one, however, my sheet pans are full sized and most people have half sized, so use two for better browning of ingredients) and cover each with a Silpat mat, parchment paper, or aluminum foil.
Place sweet potatoes, onion, and gnocchi onto the pans. Drizzle everything with two tablespoons of the olive oil. Season with salt, pepper, sage, rosemary, garlic, and two tablespoons of balsamic vinegar. Toss everything to combine. Spread out evenly. Break up the sausage with your hands and nestle small pieces of the sausage among the potatoes and gnocchi.
Place it in the oven for 25 minutes. The sweet potatoes and gnocchi should be beginning to brown.
In a small bowl, toss the radicchio with the remaining one tablespoon of olive oil and vinegar. Season with salt and pepper.
Remove pans from the oven. Toss all the ingredients on the sheet pans. Scatter radicchio on top. Place back in the oven and cook for an additional five minutes until the radicchio starts to crisp on the edges.
Remove and serve with cheese and crushed red pepper, if desired.
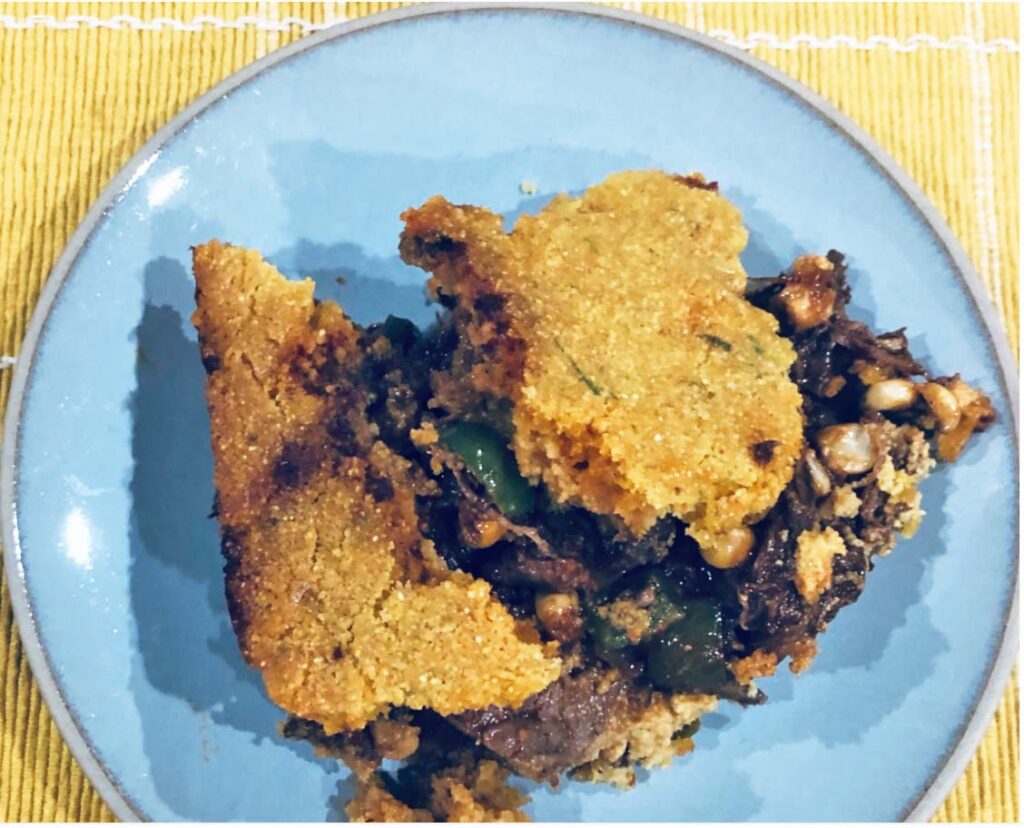
Tamales are a flavor-packed staple in many Mexican kitchens (and other countries, too), but the process of preparation is fairly time-intensive. It requires preparing a filling such as meat, vegetables or a combination, and a wrapper, usually corn husks soaked in water to make them pliable, or banana leaves. Once filled, the bundles are steamed and finished with sauces and accoutrements. When you don’t have time to make them from scratch, this fantastic dish will give you the flavors and textures in a format more accessible to weeknight dinner.
It features Mexican-spiced meat with a cornbread-like topping. As with the original inspiration, feel free to modify the protein in this recipe: pork, chicken and green chiles, mushrooms, black beans and corn, etc. all make stellar variations. You’ll have to adjust cooking times, but the possibilities are truly limitless.
Recipe note: The day before or morning that you want to serve this for dinner, start on the beef. You can either pressure cook or slow cook the roast. I actually used my pressure cooker to slow cook the beef. The reason I did this was to brown the meat in the pot first and not lose the flavor from the bottom. In addition to that, I can use my pressure cooker pot to reduce the sauce after cooking using the “sauté” function.
Beef Tamale Pie
Ingredients For the beef
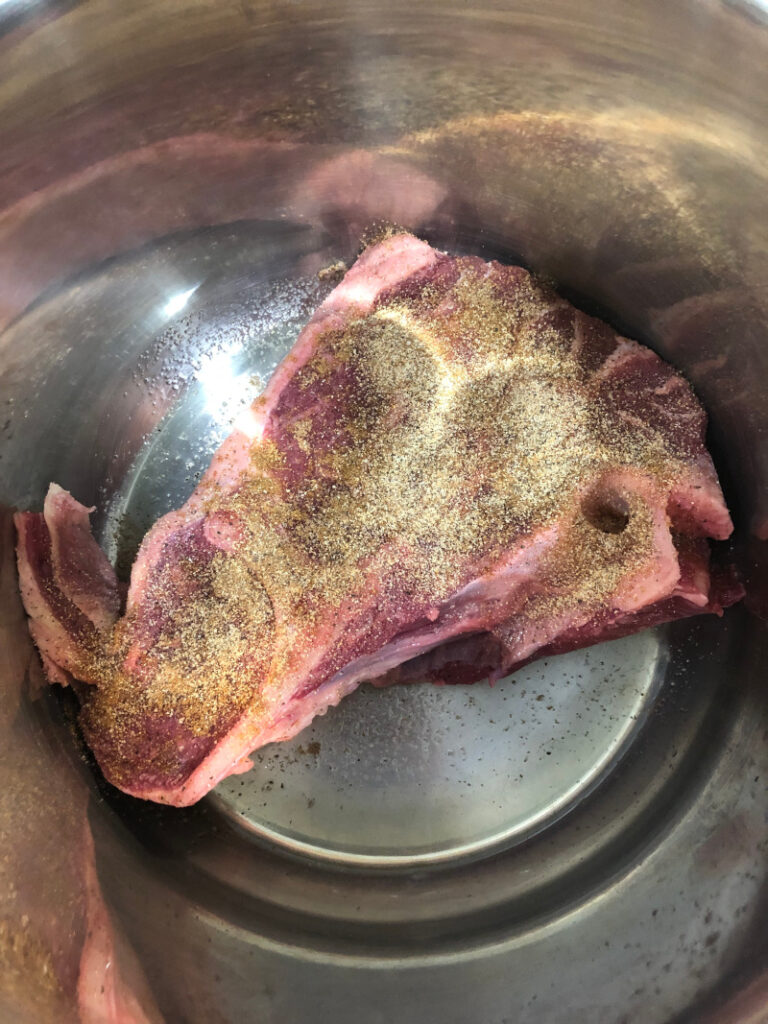
4 lb chuck roast
Salt, pepper, garlic powder, cumin, coriander
Oil
1 onion, sliced
4 garlic cloves, smashed
10 guajillo chiles (dried poblano peppers), seeds and inside ribs removed, torn into pieces. You can find these in the Hispanic section of most markets, online or visit a Mexican grocery store. Substitutions: Ancho Chile, Pasilla Negro Chile, Cascabel Chile
Cooking liquid (beer/wine, stock, water)
For the tamale pie
1 onion, chopped
2 green peppers, chopped
4 garlic cloves, minced
Salt and pepper
1 cup freeze dried corn
2 cups yellow cornmeal
2 tsp baking powder
½ tsp baking soda
½ tsp salt
2 large eggs
1 cup whole milk or buttermilk
2 limes, zested
1 stick of butter, melted and cooled
Directions
Refer to the recipe note above, and decide how you will cook your beef. Cut it into pieces, if needed, to sear. Season all sides with a mixture of salt, pepper, garlic powder, cumin, and coriander. In a hot pan or pressure cooker, coat the bottom in oil and sear until each side is deep brown and forms a crust. Use more oil and sear more pieces, if needed.
Add onions and garlic to the hot pan, and sauté for just a few minutes. Add chiles. Pour a cup of the cooking liquid into the pan (beer/wine is your choice here, if using, or use preferred stock or water), and use a study spoon to scrape up the browned bits on the bottom. Place the beef back in and spoon the onion/pepper mixture on top. Cover the beef with additional water/stock. Slow cook on low for 8 hours, or pressure cook for 60 minutes and let it naturally release. Shred the beef while still warm and allow to cool in the cooking liquid. If cooking the beef the day before, place it in the fridge (preparing a day in advance will get you the most flavorful meat).
About 60 minutes before you want to eat, preheat the oven to 425 degrees.
Remove beef from cooking liquid (you may have to warm it up a bit if it was in the fridge). Place the beef in a 13×9 baking dish. Place the cooking liquid over a boil and reduce it by ⅓-½ to concentrate the flavors. Puree the liquid using a blender or processor. You only need 1 cup for the rest of the recipe, but the extra sauce can go in the freezer as future enchilada or tamale sauce. I had about 4 cups of reduced cooking liquid.
Start the tamale pie. Heat a medium sized saucepan over medium and add some oil. Once the oil is warm, add and sauté the onion, peppers, and garlic. Season with salt and pepper and cook for 5-8 minutes until the onions are translucent and peppers are soft.
Empty the cooked vegetables over the beef. Add the corn and one cup of the reserved cooking liquid. Stir everything together and taste for seasoning. Mine needed additional salt and pepper.
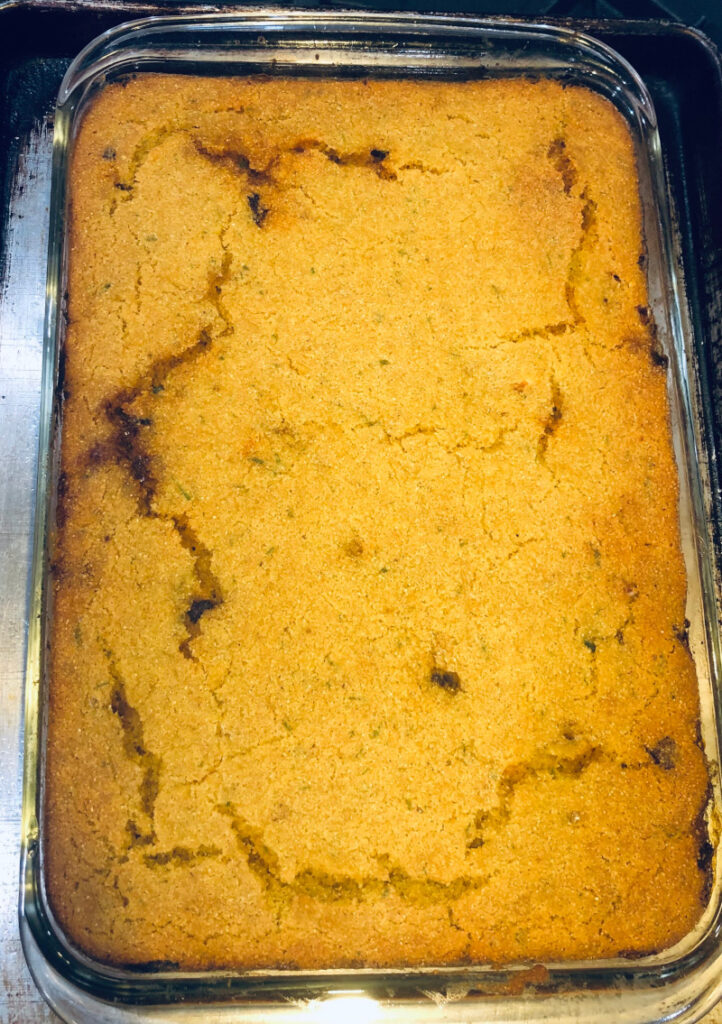
Mix the cornbread topping: in a large bowl whisk together the cornmeal, baking powder, and salt. In a large measuring cup or another bowl combine the eggs and milk. Add the wet ingredients to the dry and stir. Add the zest and pour in the melted butter, continuing to whisk while doing so. Whisk until everything is uniformly combined.
Pour the cornbread over the beef mixture, and spread evenly with a spatula to each edge.
Bake at 425 for 25 minutes, or until the cornbread is lightly browned on top. Let sit for about 10 minutes before serving. Garnish with your favorite Tex-Mex toppings if desired such as chopped cilantro, onions, sour cream shredded cheese, etc.
2 cups cooked chicken, chopped OR 1 LB ground meat OR 1 can chickpeas
½ cup white wine or stock
1 lemon, juiced
½ cup dill, chopped
¼ cup Klamath olives, sliced
½ cup feta, plus more for topping and serving
Directions
Preheat the oven to 350.
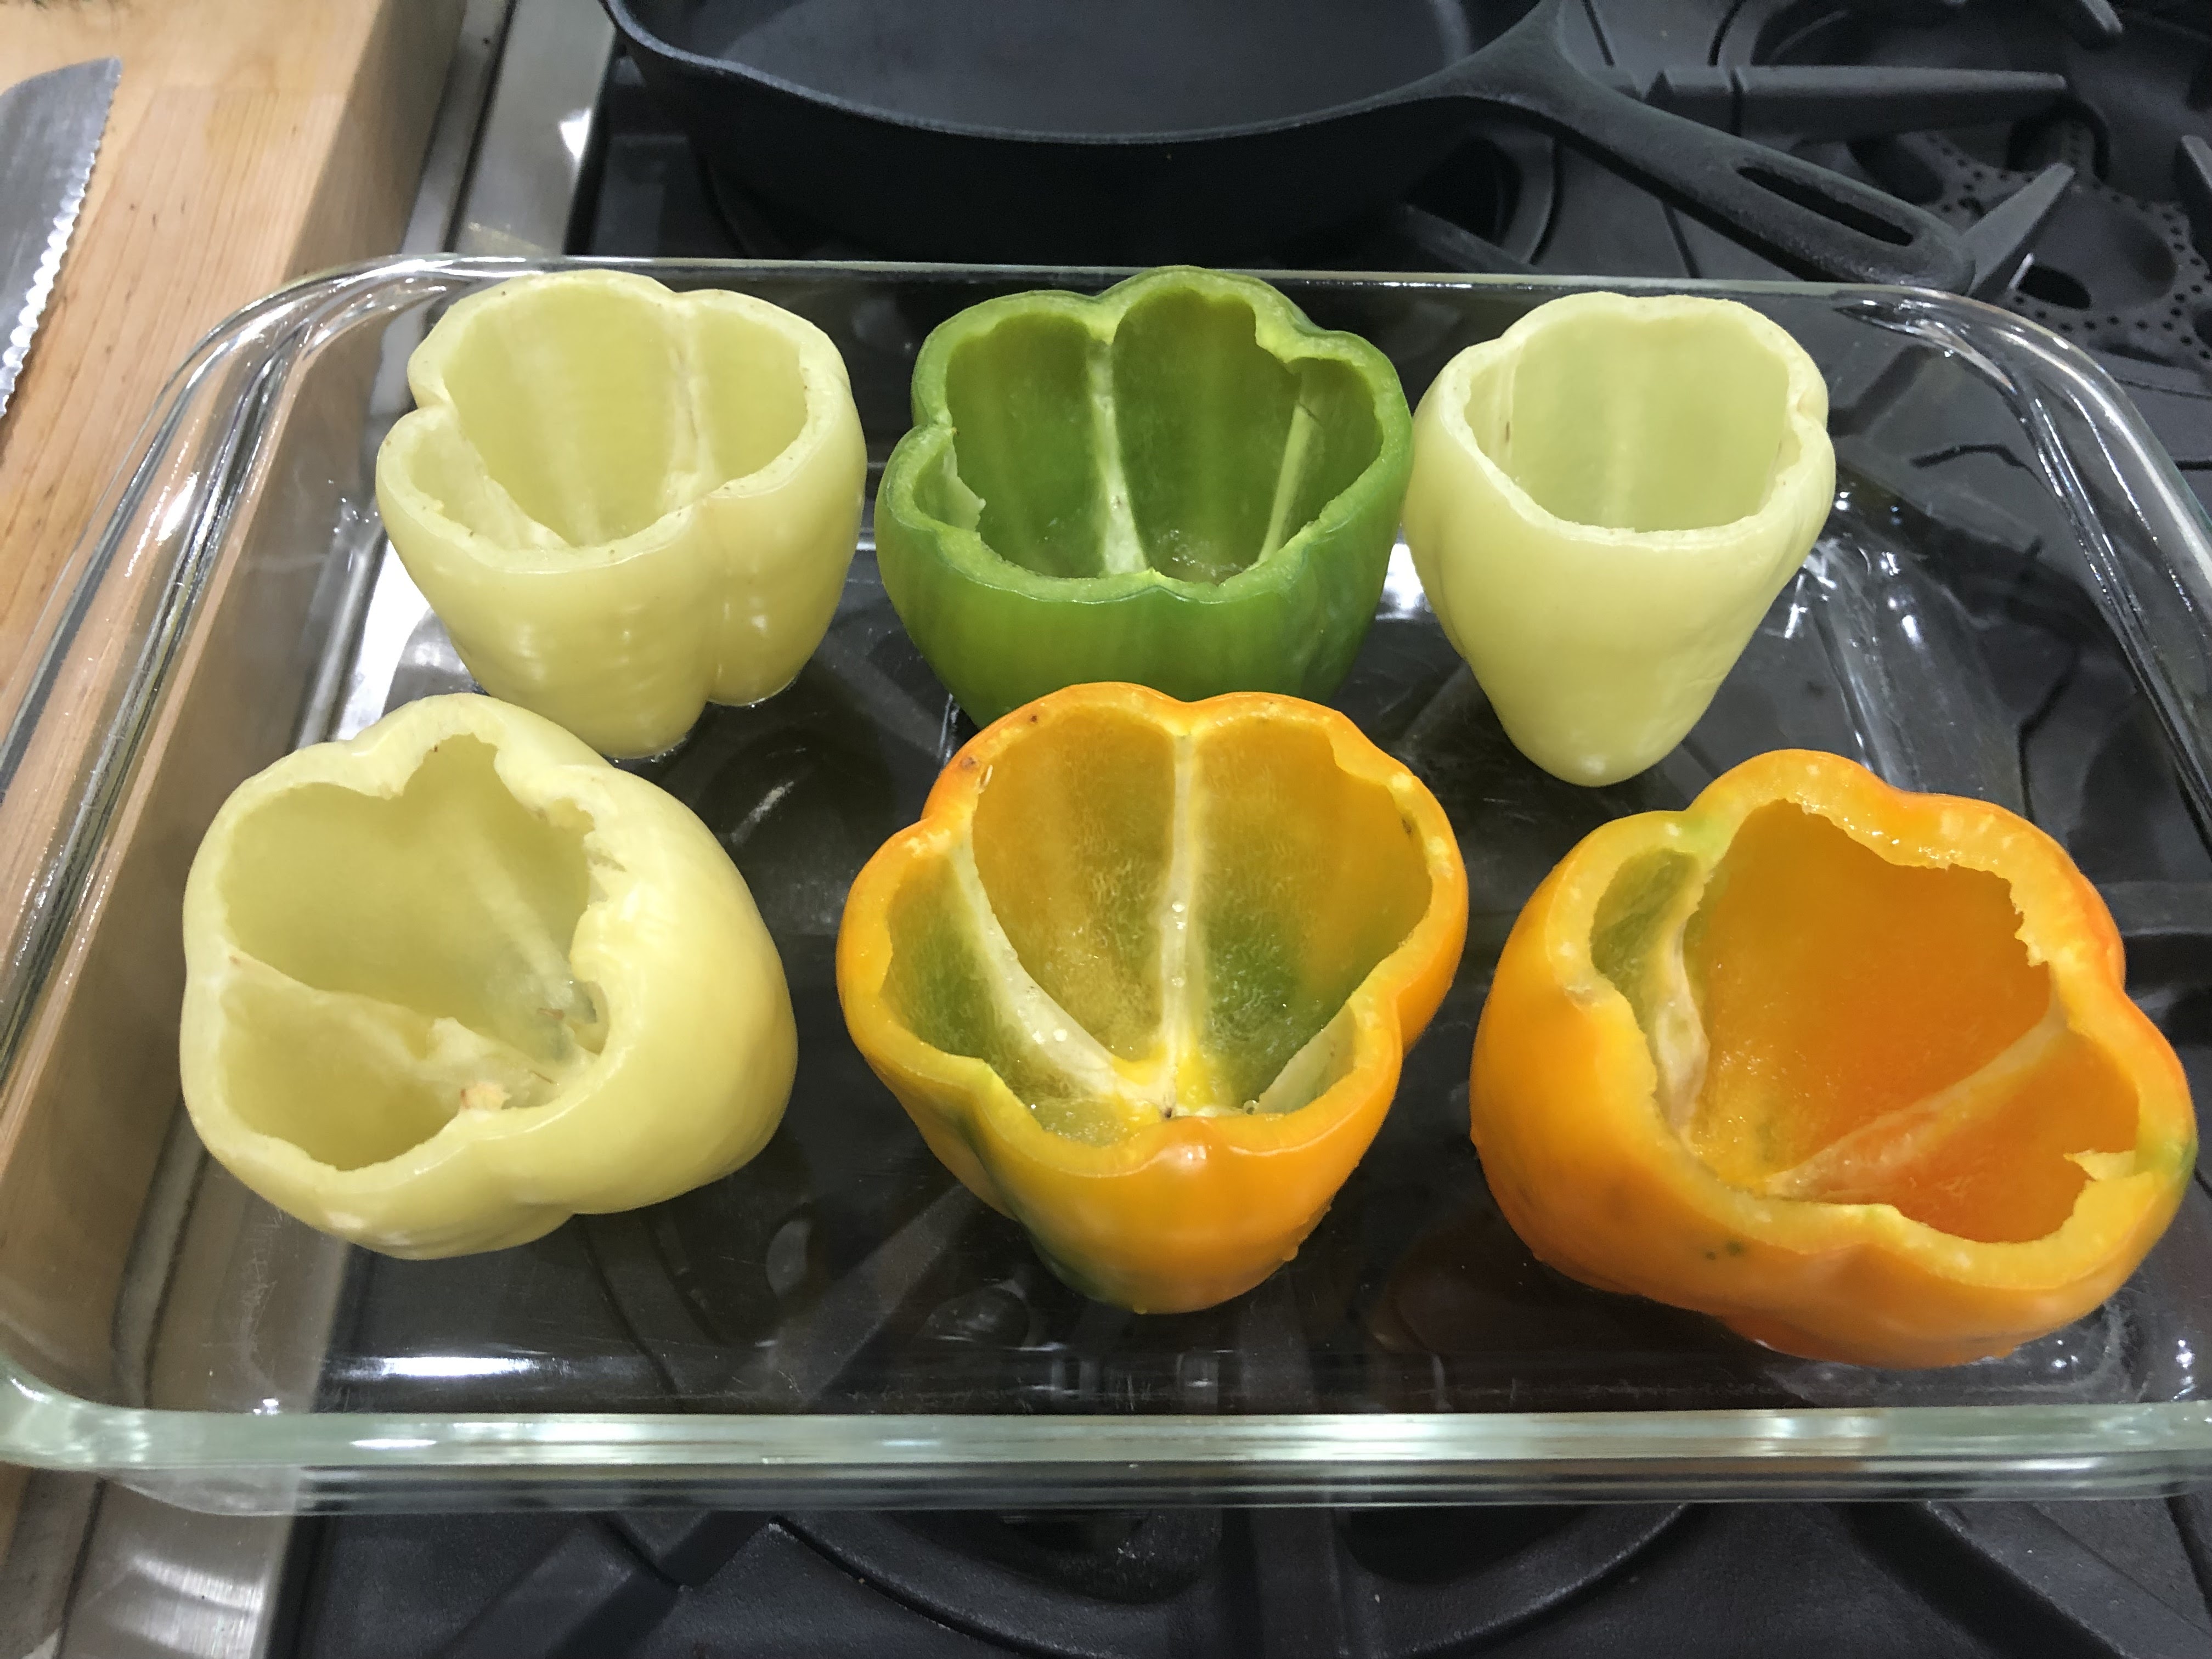
Start by slicing the thinnest layer off the bottom of the peppers so that they can stand up on their own. Then, slice the tops off in one piece, remove the seeds and white insides.
Set the peppers in a large baking dish. If you have a tall one with a lid, bonus! If not, foil will do the trick later on for a cover. Bake in a preheated oven for 15 minutes. Remove.
While the peppers bake, start the filling. In a medium sized pan, heat oil over medium heat. If using raw ground meat, brown the meat in the pan until almost cooked through. Add the onion and sauté until starting to brown on the edges and translucent inside, about five to seven minutes. Add garlic and sauté for one minute. Add tomato paste and combine.
Deglaze the pan with wine or stock, scraping up the brown bits on the bottom. Reduce the wine/stock until mostly gone. If using chopped meat or chickpeas, add them now and heat until warmed through. Season with salt and pepper. Add the lemon juice, dill, feta and olives. Mix until combined. Set aside.
Fill peppers with the filling; you may have some left over (if so, keep and use as an addition to pasta sauce or perhaps a fun omelet filling!). Put the pepper tops back on. Pour ¼ cup of water in the pan and cover with foil or lid. Bake for 10 minutes. Remove lid. Bake for 15 minutes.
Remove from the oven and let cook for five minutes before serving. Serve with more feta cheese crumbled on top.
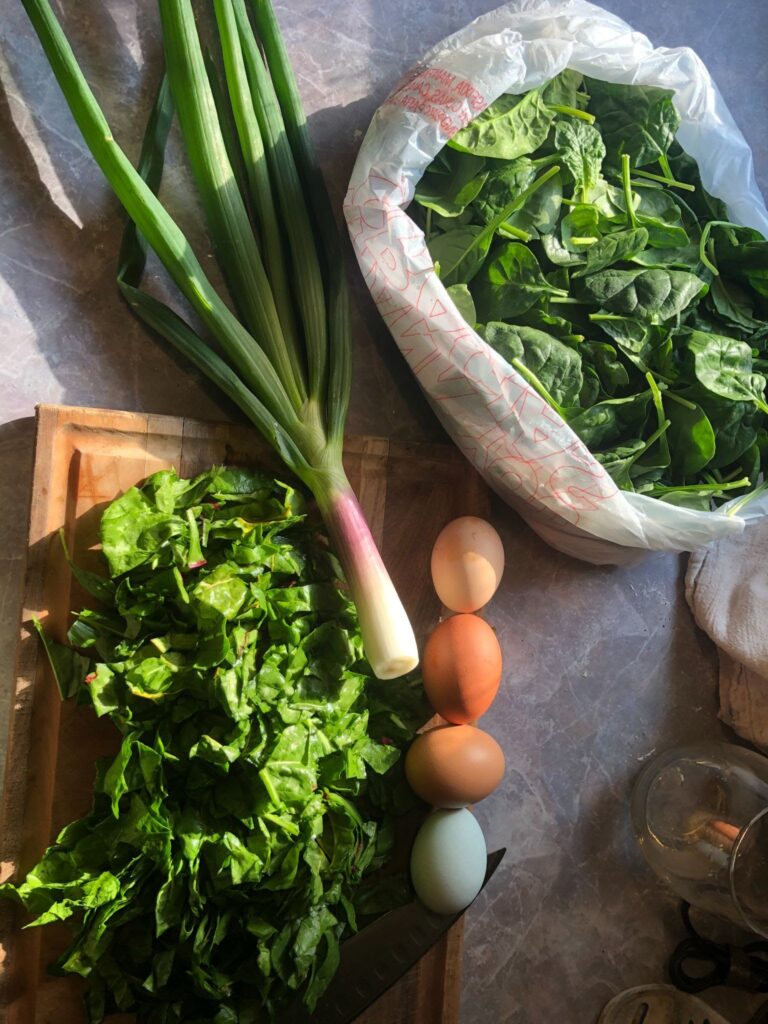
The bounty of spring brings to mind eggs, greens, and dairy! I know everybody is making quiche and frittata these days, but I wanted to introduce something that’s a little different: spanakopita-inspired quiche! This rich and savory dish brings Greek flavors to your table any time of day, and takes full advantage of local ingredients. You will need to purchase a few items from the store, but it’s more than worth it!
If you’ve never worked with phyllo dough before, you can find it in the freezer section next to puff pastry and pie dough shells. Make sure to thaw it the night before so it’s ready to go when you are ready to cook. Phyllo dough can be finicky: it dries out quickly and the super-thin sheets make it a blessing and a curse — difficult to work with but a joy to eat. For this recipe, it doesn’t need to be perfect, and tearing will add to the rustic plating, but do make sure you take the time to prep your ingredients and work space so that you can work quickly once you unwrap the dough.
A note about equipment. I used a 10-inch springform pan so that I could remove the “collar” or side of the pan for a pretty presentation. This is totally not necessary and this recipe will work in a regular 9 inch pie pan! However, if you do use a 10-inch springform pan, I do recommend adding 2 more eggs (for a total of 6 eggs) as it’s a bit bigger and fills out nicer. I made the recipe both ways with equal success.
Ingredients
½ package of phyllo dough
4 TB. butter, melted
1 TB butter or cooking oil of choice
1 package of large scallions/spring onions, diced
2-4 garlic cloves, minced
1 lb greens – I used a combination of Swiss chard and spinach to mix it up
4 eggs
1 cup milk
S & P
Zest of 1 lemon
¼ cup freshly chopped herbs – dill, parsley, oregano, chives are all good choices
4 oz. feta, crumbled
Directions
Defrost phyllo dough in the fridge the night before. Take it out of the fridge and allow it to come to room temperature while you start prepping the quiche filling.
Preheat the oven to 400.
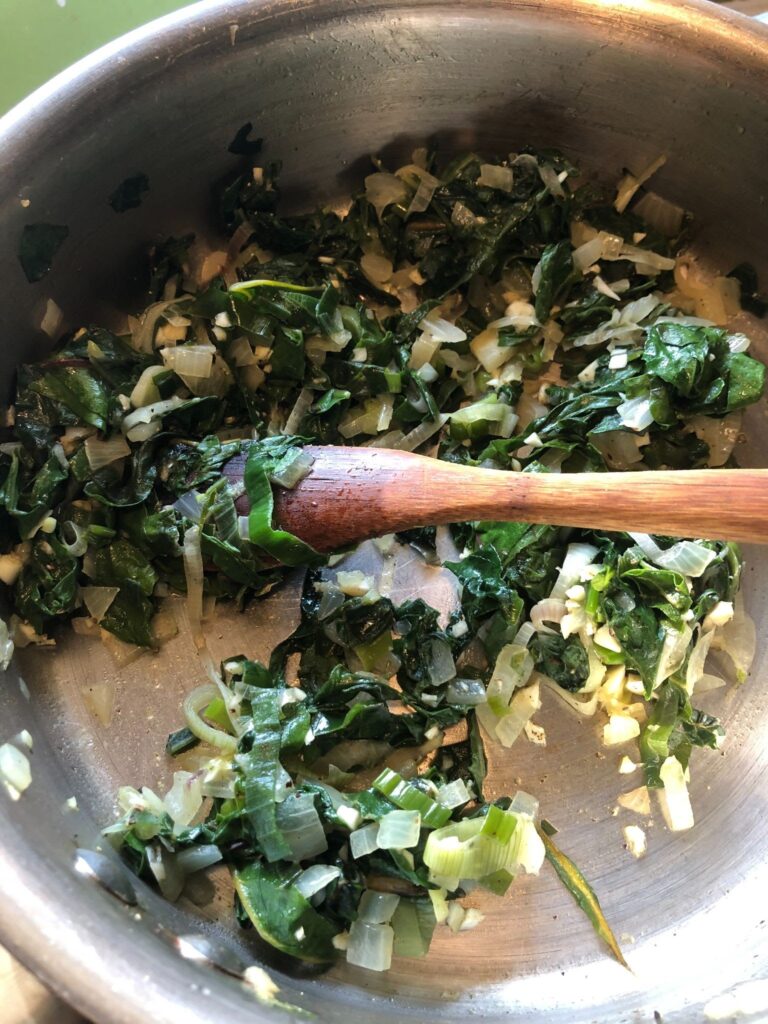
In a large skillet over medium heat, melt butter/heat oil and add onions. Sauté until translucent, about 5 minutes. Add minced garlic and cook for 1 minute until fragrant. Season with salt and pepper.
Start adding greens in batches, stirring to wilt and incorporate. Continue adding until all greens are cooked down, reserving one small handful of spinach leaves for the top.
While this happens, you can whisk eggs in a bowl with the milk. Season with salt and pepper. Set aside.
When all greens have wilted down, season the skillet with salt, pepper, lemon zest, and fresh herbs. Turn the heat off, taste and adjust seasonings.
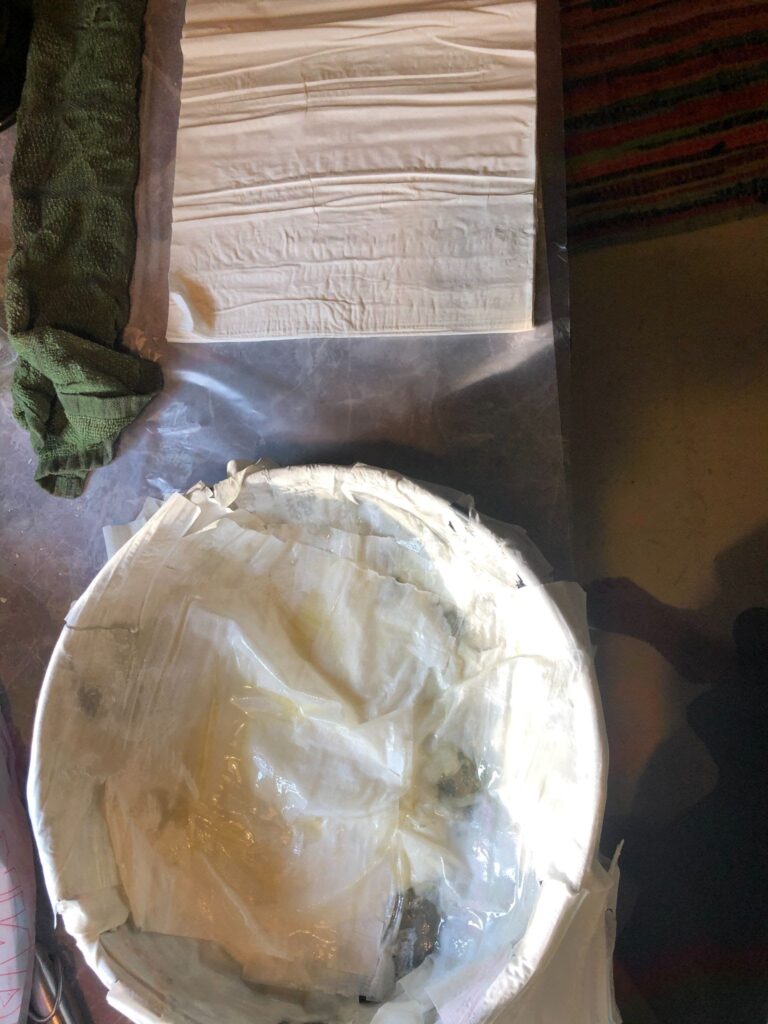
Set up your phyllo dough station. Unwrap phyllo dough and set next to melted butter with a brush. Using your preferred quiche pan, brush the insides with melted butter. Start by removing one phyllo sheet and covering the bottom of the pan. Brush lightly with butter. Place another sheet down in the other direction to cover the bottom thoroughly and brush with butter. Now, work on draping the sheets of dough over the pan. Brush each lightly with butter, and continue draping the sheets of dough to cover the sides and bottom of the pan while creating a large overhang on the outside of the pan. If you need to walk away or notice your phyllo dough drying out very quickly, you can cover it with a very lightly damp dish towel that will help! I used roughly 15-20 sheets of phyllo dough. I still had some leftover that I wrapped up for another use.
(recipe continues below)
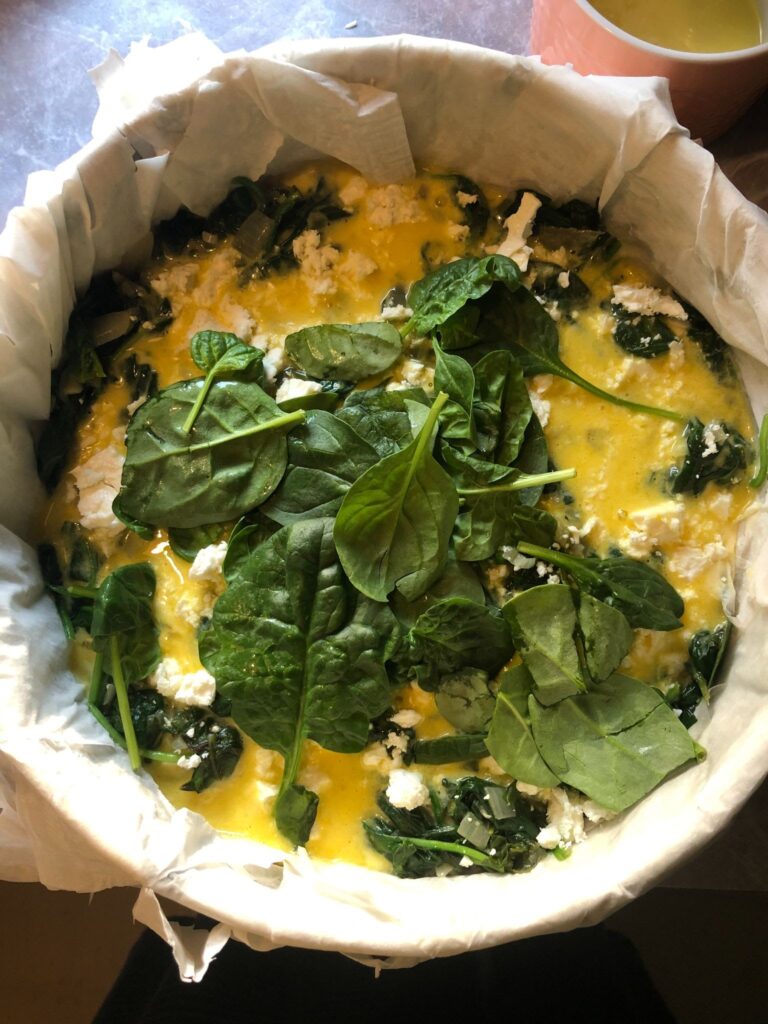
Next, spread the greens over the dough, spreading out in an equal layer. Top with whisked eggs/milk. Finally, top with crumbled feta cheese.
Fold the hanging dough on top of the quiche. You may have to crinkle it a bit to make sure you can visually see the greens in the center. Drizzle remaining butter all over the top of the phyllo.
Bake the quiche at 400 for about 35 minutes until the dough is browned and crunchy and the eggs are set (if it jiggles in the center, the eggs may need another minute or two)!